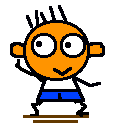
In Lesson 1, we created a sprite and also create four costumes: “frontâ€, “backâ€, “facing leftâ€, and “facing rightâ€.
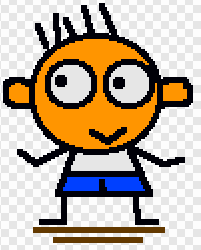
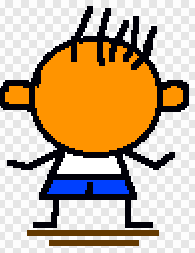

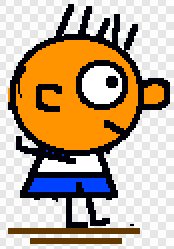
In this lesson, we will make our sprite dance, and dance to the beat.
Step 1: Dance
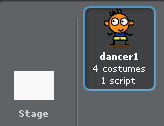
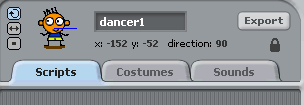
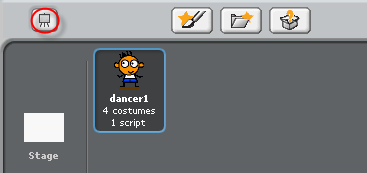
Open the “dance†project that we created in Lesson 1. Click “Sprite1†and change its name to “dancer1â€.

Click “Scripts†tab. Sprite “dancer1†doesn’t have any script blocks. Click “Controlâ€.
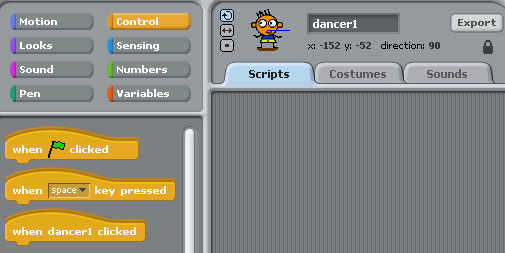
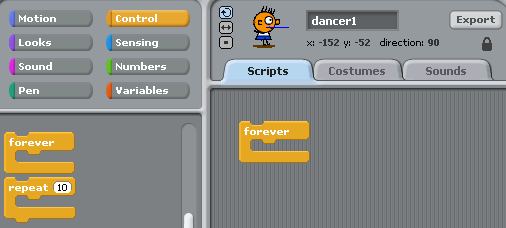
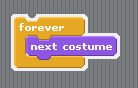
Then drag out “forever†script block and drop it in the script editor.
Click “Looksâ€. Drag out “next costume†block and drop it inside “forever†block to form a combo block.
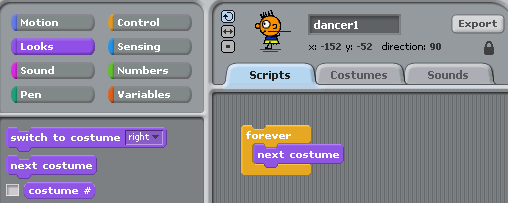
Now double click this combo block to see dancer1 spin like crazy!
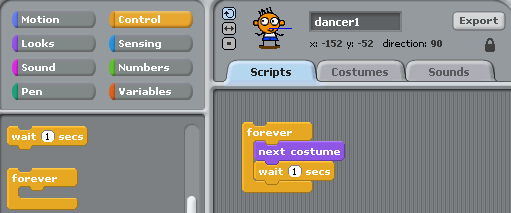
We need to slow him down! To do so, click “Control†again. Drag “wait 1 secs†and drop it under “next costumeâ€. Now double click the combo block again.
Step 2: Finishing and Testing
We are almost done with creating our first animation. To wrap it up, drag “when 

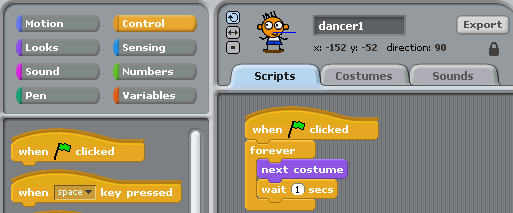
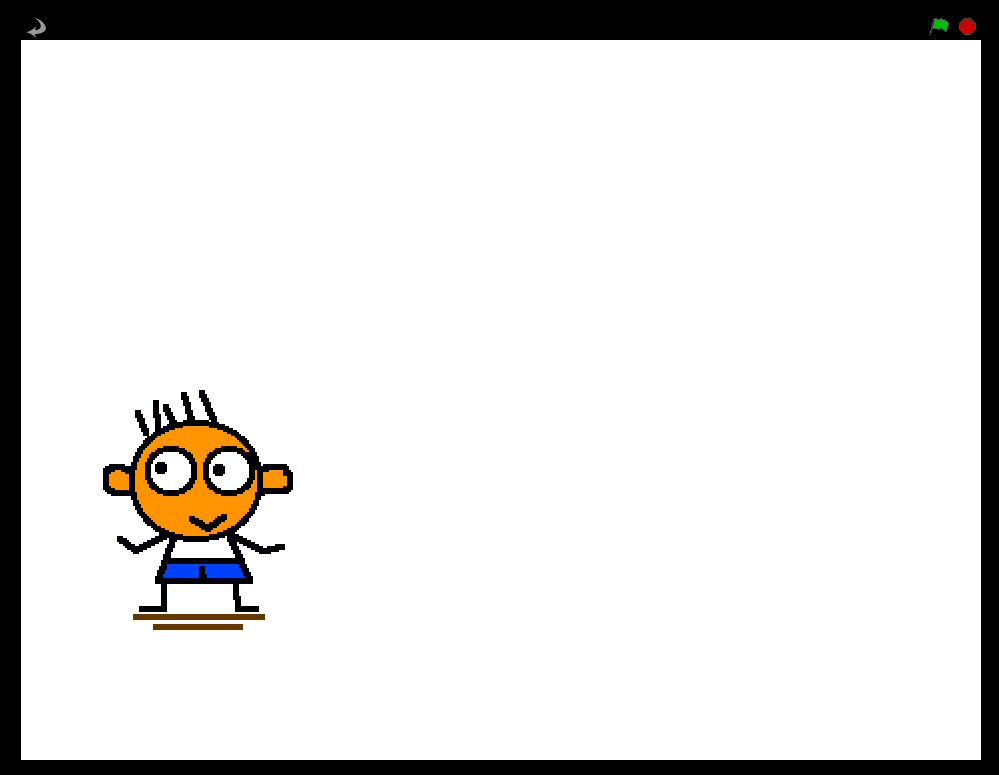
We are done with the first animation. Try viewing in full-screen mode or “presentation mode†by clicking
Step 3: Kick Up a Notch
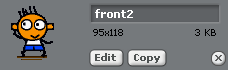
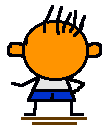
You can add more costumes or make dancer1 dance faster. I added two extra costumes: “front2†and “back2â€. I also change “wait 1 secs†to “wait 0.5 secs†to make dancer1 dance faster.
thanks, this is really cool
Pingback: Scratch Lessons 2 & 3 | Mrs. Meier's Miscellany
I relish, cause I discovered exactly what I was looking for.
You’ve ended my four day lengthy hunt! God Bless you man. Have a nice day.
Bye
Love this! As a homeschooler I wanted to teach my son how to program and knew about Scratch but needed lesson plans. You have provided them! A BIG thank you from Indiana!
also not up-to-date as of 2017. please fix it.
stop
thanks i guess