Audience: Beginner
Prerequisite: None
This article is part 1 of a 3-part series of creating a simple Next.js app using Subpabase, In part 1, I will walk over
- Creating a Supabase project called MLB App
- Create a new table called players in the new project
- Add columns to the player table
- Add data to the player table
I love this 100 seconds intro of Subpabase
Create a Supabase Account https://supabase.com. It will be the default a Free Plan.
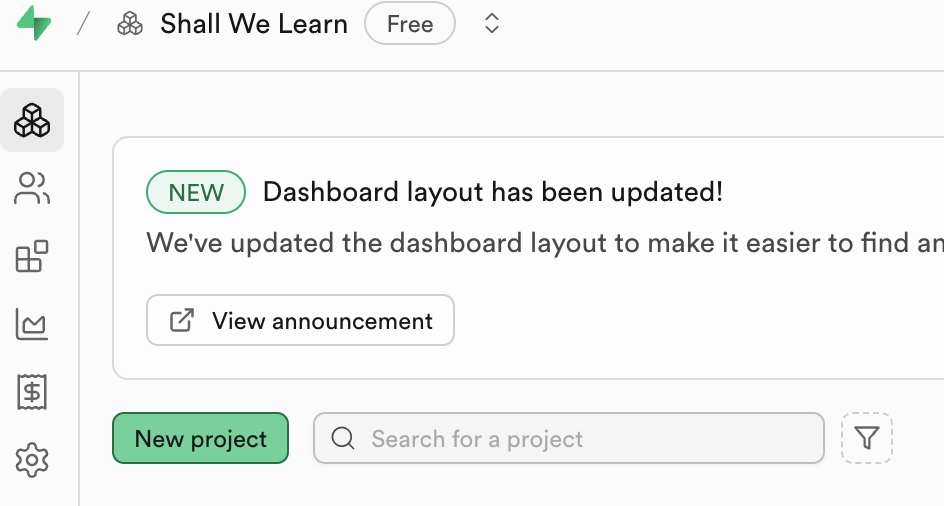
Log in and create a new project. You can create two projects under the Free Plan.
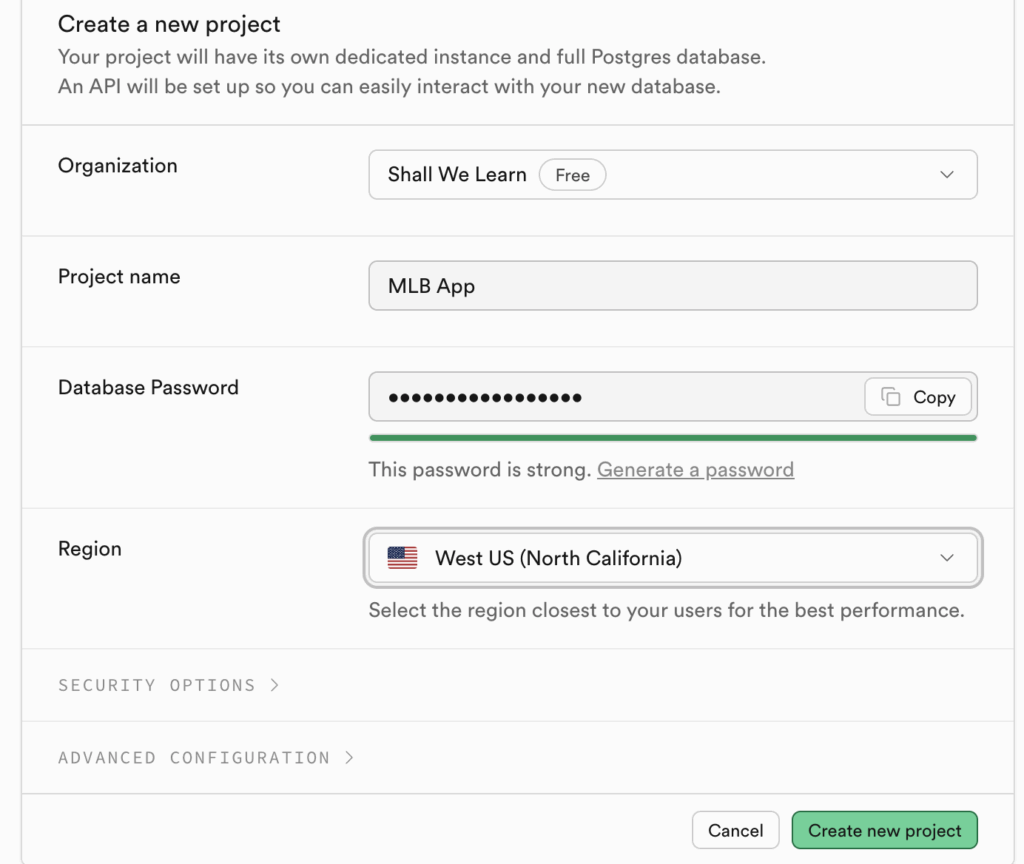
Fill in project info, and you can select a location closest to you or most of your users for faster access. For me, it’s the West US (North California). I called it MLB App because I will be using this project to host the data for a Sport Statistics App my team will be building.
A new project page is created
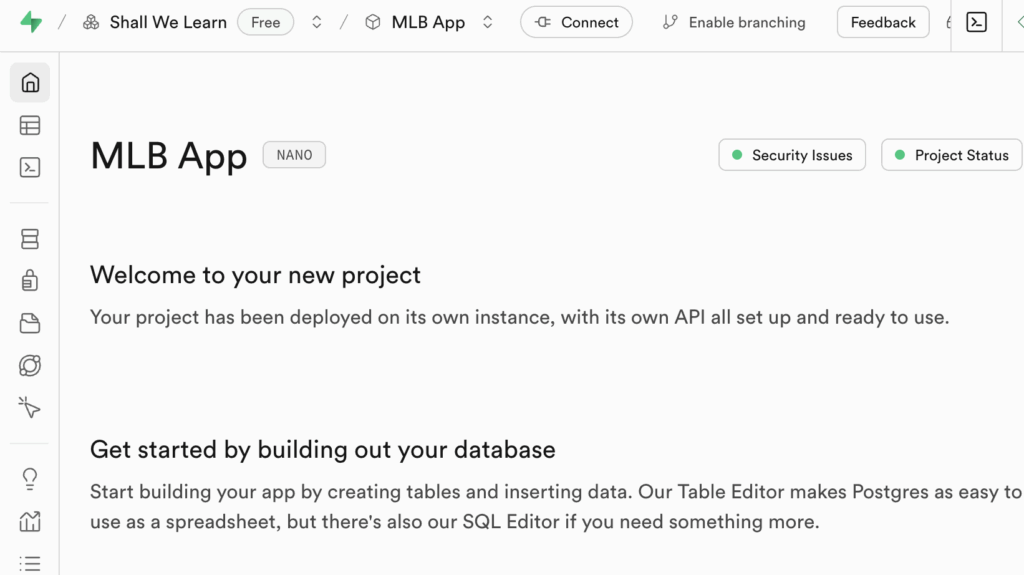
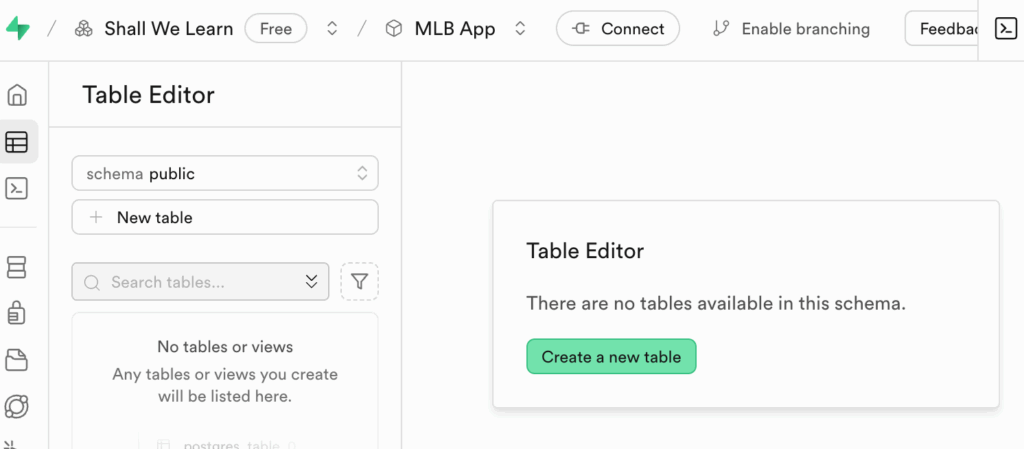
This project does not have any tables yet. Let’s create a new table.
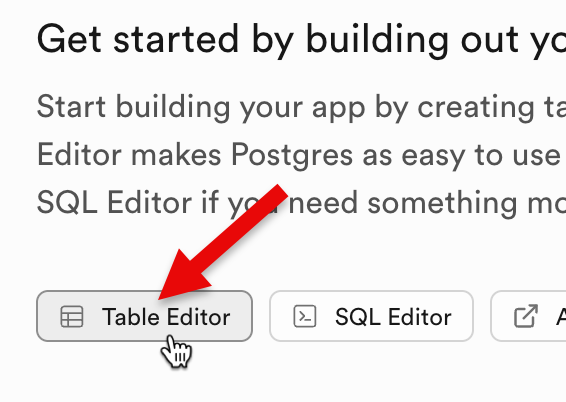
You would be taken to a Table Editing page. Let’s create a new table. Click “Create a New Table” button.
We can leave the schema as public.
Create a table called “players”.

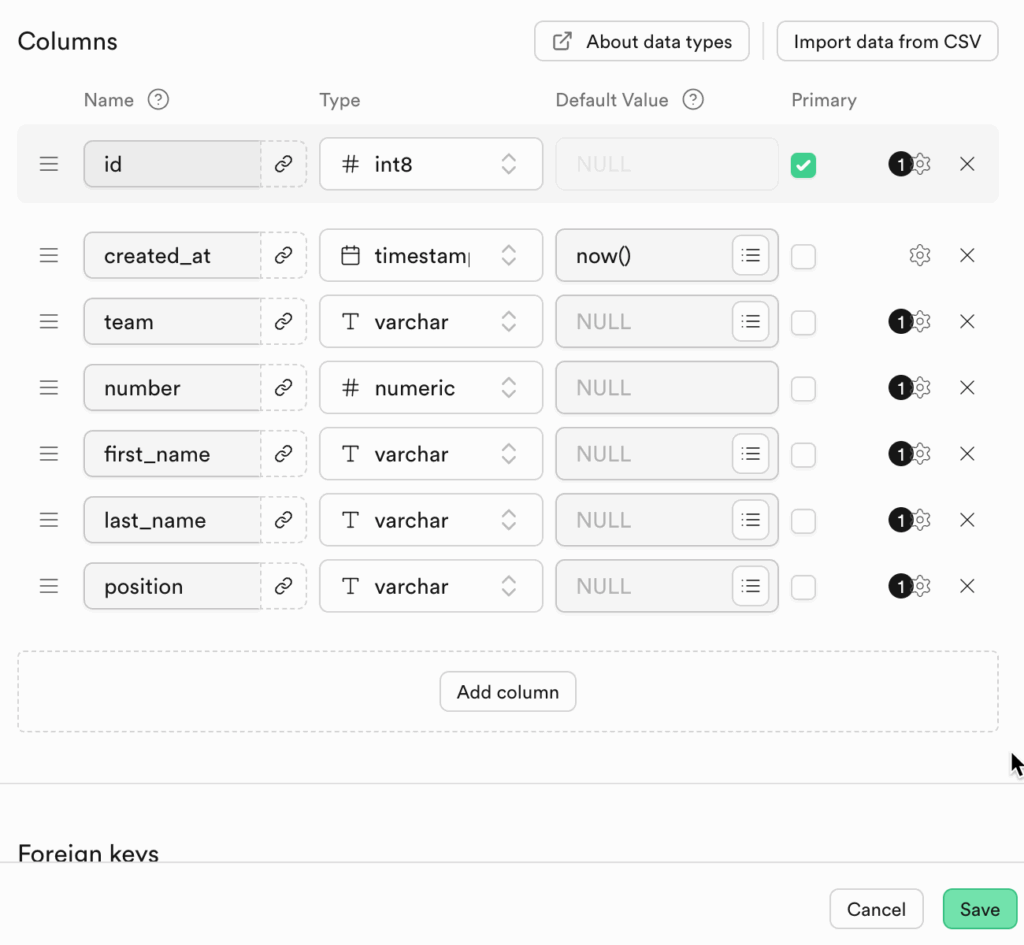
Then scroll down a bit to the Columns section. You should see two columns already created: id, created_at. The id column is for the unique identifiers for the record in this table. The created_at column is used to store when each record is created.
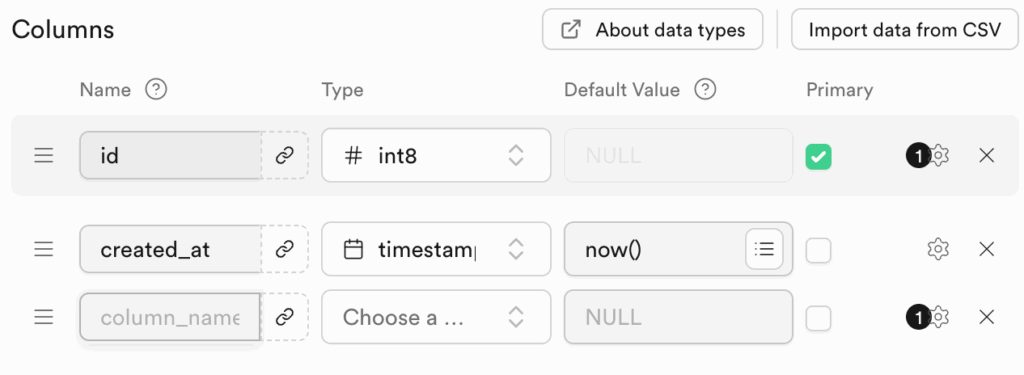
Now let’s add these columns to hold info about our players:
- team
- number
- first_name
- last_name
- position
For each column, we will need to specific name and its data type, let’s use these data types:
- team: varchar
- number: numeric
- first_name: varchar
- last_name: varchar
- position: varchar
If you are unfamiliar with column data types, they are just a way to describe the column’s valid data format and range.
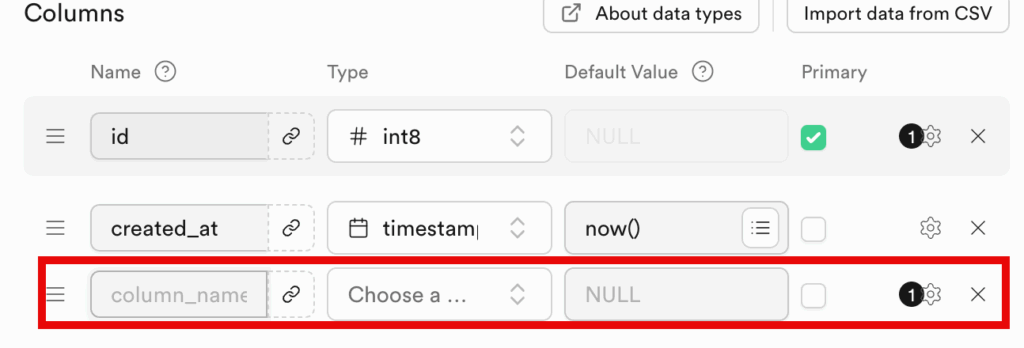
Click on “Add column” to add the first column.

A new row will be added.
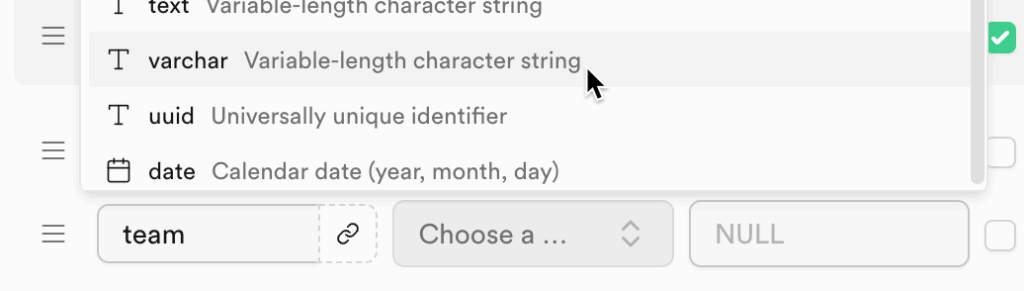
Let’s set this column to be “team”, and let’s use the varchar data type. The varchar type stands for variable characters, which means it’s a string type.
Create the second new column to be “number”, and set its type to be numeric

Let’s add the rest of the fields: first_name, last_name, and position. The columns should look like this. Then click “Save”.
Once the column changes are saved, you will be taken back to the Table Edit page. There should just be the column names, but no data.

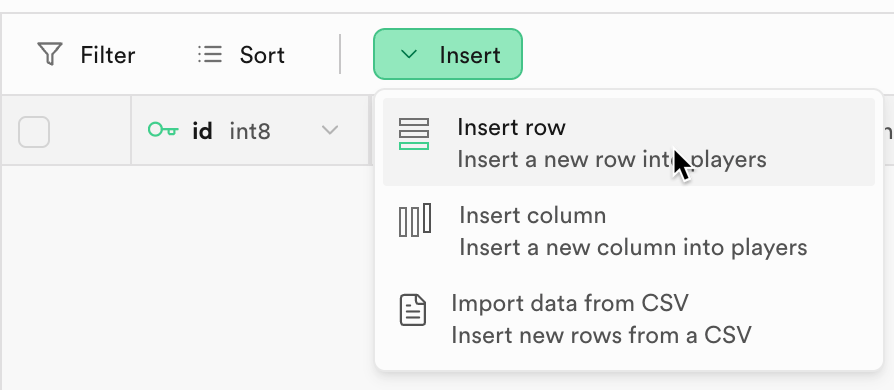
Let’s add a new row. Click “Insert”,
Let’s use Manny Machado from Padres as an example:
- team: Padres
- number: 13
- first_name: Manny
- last_name: Machado
- position: Third Base
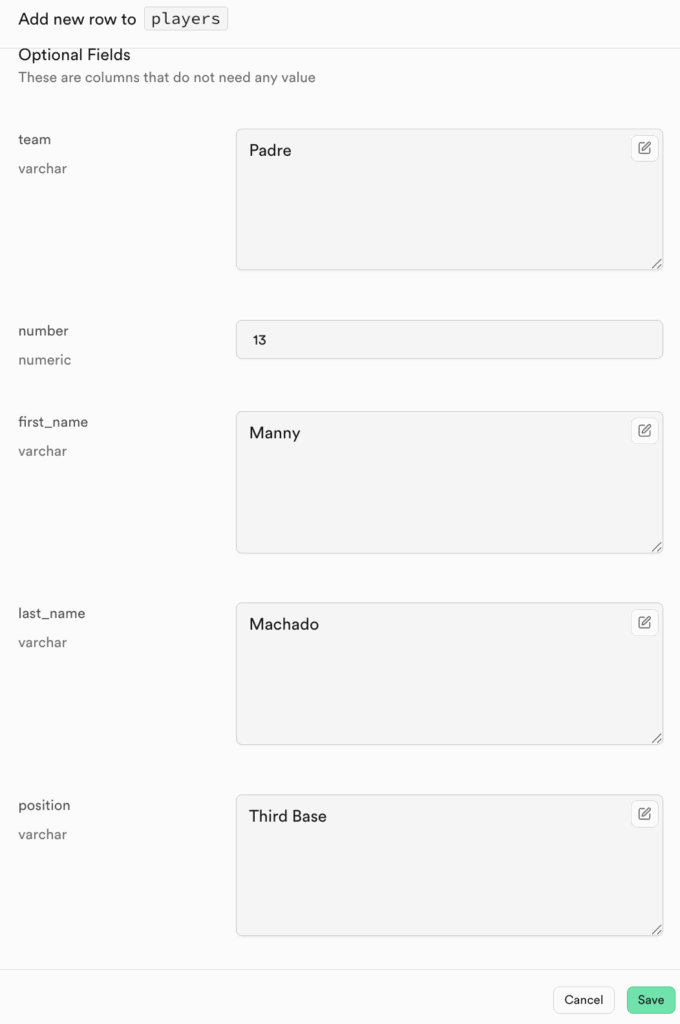
Click save and then you should see the new row added

Congrats! You are done with part 1. Feel free to add more of your favorite players. In the next lesson, I will show how you can create a simple web app to connect to Subpabase.